Creating Bokeh Particles with Canvas in Svelte - Part 3: Integration and Optimization
Introduction
In Part 1 and Part 2, we built the core particle system. Now let's integrate it properly with Svelte, optimize performance, and make it production-ready.
Table of Contents
- How do I properly integrate Canvas with Svelte's lifecycle?
- How do I handle high-DPI displays correctly?
- How can I optimize performance?
- How do I make the component reusable and configurable?
- How do I style the canvas to overlay content?
- How do I handle color variations programmatically?
- What about accessibility?
- How do I test the component?
- How do I configure all particle settings in one place?
Q: How do I properly integrate Canvas with Svelte's lifecycle?
A: Svelte's lifecycle hooks are crucial for proper cleanup and SSR compatibility:
<script lang="ts">
	import { onMount, onDestroy } from 'svelte';
	import { browser } from '$app/environment';

	let canvas: HTMLCanvasElement;
	let ctx: CanvasRenderingContext2D | null = null;
	let animationFrameId: number;
	let resizeObserver: ResizeObserver | null = null;

	onMount(() => {
		// Always check for browser environment
		if (!browser) return;

		initCanvas();
		animate();

		// Handle resize efficiently
		resizeObserver = new ResizeObserver(() => {
			initCanvas();
		});
		resizeObserver.observe(canvas);

		// Cleanup function
		return () => {
			if (animationFrameId) {
				cancelAnimationFrame(animationFrameId);
			}
			if (resizeObserver) {
				resizeObserver.disconnect();
			}
		};
	});

	onDestroy(() => {
		// Extra safety: cleanup if component unmounts
		if (animationFrameId) {
			cancelAnimationFrame(animationFrameId);
		}
		if (resizeObserver) {
			resizeObserver.disconnect();
		}
	});
</script>
Key points:
browsercheck: Essential for SSR - Canvas doesn't exist on the server- Return cleanup in onMount: Svelte calls this when the component is destroyed
- onDestroy as backup: Extra safety for edge cases
- ResizeObserver: More efficient than window resize events
Q: How do I handle high-DPI displays correctly?
A: High-DPI (Retina) displays need special handling to avoid blurry rendering:
function initCanvas() {
	if (!canvas || !browser) return;

	ctx = canvas.getContext('2d');
	if (!ctx) return;

	const rect = canvas.getBoundingClientRect();
	const dpr = window.devicePixelRatio || 1;

	// Set actual canvas size in pixels
	canvas.width = rect.width * dpr;
	canvas.height = rect.height * dpr;

	// Scale context back to CSS pixels
	ctx.scale(dpr, dpr);

	// Now all drawing uses CSS pixel coordinates
	// But renders at device pixel resolution
}
Why this works:
- CSS size: Canvas element uses CSS pixels (e.g., 800px width)
- Internal resolution: Canvas buffer uses device pixels (e.g., 1600px on 2x display)
- Scaling context: Drawing at CSS coordinates but rendering at full resolution
- Result: Crisp, sharp rendering on all displays
Q: How can I optimize performance?
A: Several techniques can improve performance:
1. Reduce Redraws
let lastTime = 0;
const targetFPS = 60;
const frameInterval = 1000 / targetFPS;

function animate(currentTime: number) {
	if (!ctx || !canvas) return;

	// Throttle to target FPS if needed
	if (currentTime - lastTime < frameInterval) {
		animationFrameId = requestAnimationFrame(animate);
		return;
	}

	lastTime = currentTime;
	// ... rest of animation code
}
2. Use Object Pools (for many particles)
// Reuse particle objects instead of creating new ones
const particlePool: Particle[] = [];

function getParticle(): Particle {
	if (particlePool.length > 0) {
		return particlePool.pop()!;
	}
	return createNewParticle();
}

function recycleParticle(particle: Particle) {
	particlePool.push(particle);
}
3. Conditional Rendering
// Only animate when tab is visible
let isVisible = true;

onMount(() => {
	document.addEventListener('visibilitychange', () => {
		isVisible = !document.hidden;
		if (isVisible) {
			animate();
		}
	});
});

function animate() {
	if (!isVisible) return;
	// ... animation code
}
Q: How do I make the component reusable and configurable?
A: Use Svelte props for configuration:
<script lang="ts">
	interface Props {
		particleCount?: number;
		minRadius?: number;
		maxRadius?: number;
		speed?: number;
		colors?: string[];
		opacityRange?: { min: number; max: number };
	}

	let {
		particleCount = 50,
		minRadius = 2,
		maxRadius = 8,
		speed = 0.3,
		colors = ['#C47CCF', '#D18FE0', '#B86AB8'],
		opacityRange = { min: 0.2, max: 0.6 }
	}: Props = $props();
</script>
Benefits:
- Flexible: Different pages can use different settings
- Type-safe: TypeScript ensures correct usage
- Defaults: Sensible defaults make it easy to use
- Reactive: Changes to props automatically update behavior
Q: How do I style the canvas to overlay content?
A: Use CSS positioning to layer the canvas:
<canvas bind:this={canvas} class="particles-canvas"></canvas>

<style>
	.particles-canvas {
		position: absolute;
		top: 0;
		left: 0;
		width: 100%;
		height: 100%;
		pointer-events: none;  /* Allow clicks to pass through */
		z-index: 1;            /* Above background, below content */
	}
</style>
In the parent component:
<section class="hero-section">
	<BokehParticles />
	<div class="hero-content">
		<!-- Content with z-index: 2 -->
	</div>
</section>

<style>
	.hero-section {
		position: relative;  /* Required for absolute positioning */
	}

	.hero-content {
		position: relative;
		z-index: 2;  /* Above particles */
	}
</style>
Q: How do I handle color variations programmatically?
A: Generate color variations from a base color:
function generateColorVariations(baseColor: string, count: number): string[] {
	// Parse hex color
	const hex = baseColor.replace('#', '');
	const r = parseInt(hex.substr(0, 2), 16);
	const g = parseInt(hex.substr(2, 2), 16);
	const b = parseInt(hex.substr(4, 2), 16);

	const variations: string[] = [];

	for (let i = 0; i < count; i++) {
		// Create lighter and darker variations
		const factor = (i / count) * 0.4 - 0.2; // -0.2 to 0.2
		const newR = Math.max(0, Math.min(255, r + factor * 255));
		const newG = Math.max(0, Math.min(255, g + factor * 255));
		const newB = Math.max(0, Math.min(255, b + factor * 255));

		variations.push(
			`#${Math.floor(newR).toString(16).padStart(2, '0')}${Math.floor(newG).toString(16).padStart(2, '0')}${Math.floor(newB).toString(16).padStart(2, '0')}`
		);
	}

	return variations;
}
Q: What about accessibility?
A: Canvas content isn't accessible by default. Here's how to handle it:
<canvas
	bind:this={canvas}
	class="particles-canvas"
	aria-hidden="true"
	role="presentation"
></canvas>
Why aria-hidden="true"?
- Decorative only: Particles are visual decoration, not content
- Screen readers: Prevents screen readers from trying to interpret the canvas
- Focus:
pointer-events: nonealready prevents interaction - Semantic:
role="presentation"reinforces decorative nature
Q: How do I test the component?
A: Create a dedicated test page:
<!-- src/routes/test-particles/+page.svelte -->
<script lang="ts">
	import BokehParticles from '$lib/BokehParticles.svelte';
</script>

<section class="hero-section">
	<BokehParticles />
	<div class="hero-content">
		<h1>Particles Test</h1>
		<p>Test your particle system here</p>
	</div>
</section>
Benefits:
- Isolated testing: Test without affecting production pages
- Easy iteration: Quick changes and visual feedback
- Performance testing: Check FPS and memory usage
- Responsive testing: Test at different viewport sizes
Q: How do I configure all particle settings in one place?
A: Centralize all configuration constants at the top of your component:
// Particle system configuration
const particleCount = 50;
const minRadius = 2;
const maxRadius = 8;
const speed = 0.1; // Movement speed (lower = slower)

// Visual properties
const opacityRange = { min: 0.2, max: 0.6 };
const colorVariations = ['#C47CCF', '#D18FE0', '#B86AB8', '#E5A8F0', '#A85AA8'];

// Special effects
const glowProbability = 0.25; // 25% get glow effect
const sharpProbability = 0.08; // 8% are sharp and bright
const sharpColors = ['#FFFFFF', '#F5E6FF', '#E8D5FF', '#FFE5FF'];
Benefits of centralized config:
- Easy tweaking: Adjust all parameters in one place
- Documentation: Comments explain each setting
- Experimentation: Quickly test different values
- Maintainability: Clear overview of system behavior
Production Checklist
Before deploying, ensure:
- ✅ SSR compatibility: All Canvas code wrapped in
browserchecks - ✅ Performance: Runs smoothly at 60fps on target devices
- ✅ Responsive: Works on mobile, tablet, and desktop
- ✅ Cleanup: All event listeners and observers are removed
- ✅ Accessibility: Proper ARIA attributes
- ✅ Error handling: Graceful degradation if Canvas isn't supported
- ✅ Memory: No memory leaks (check with DevTools)
- ✅ Visual balance: Glow and sharp particles enhance without overwhelming
Advanced Visual Effects Summary
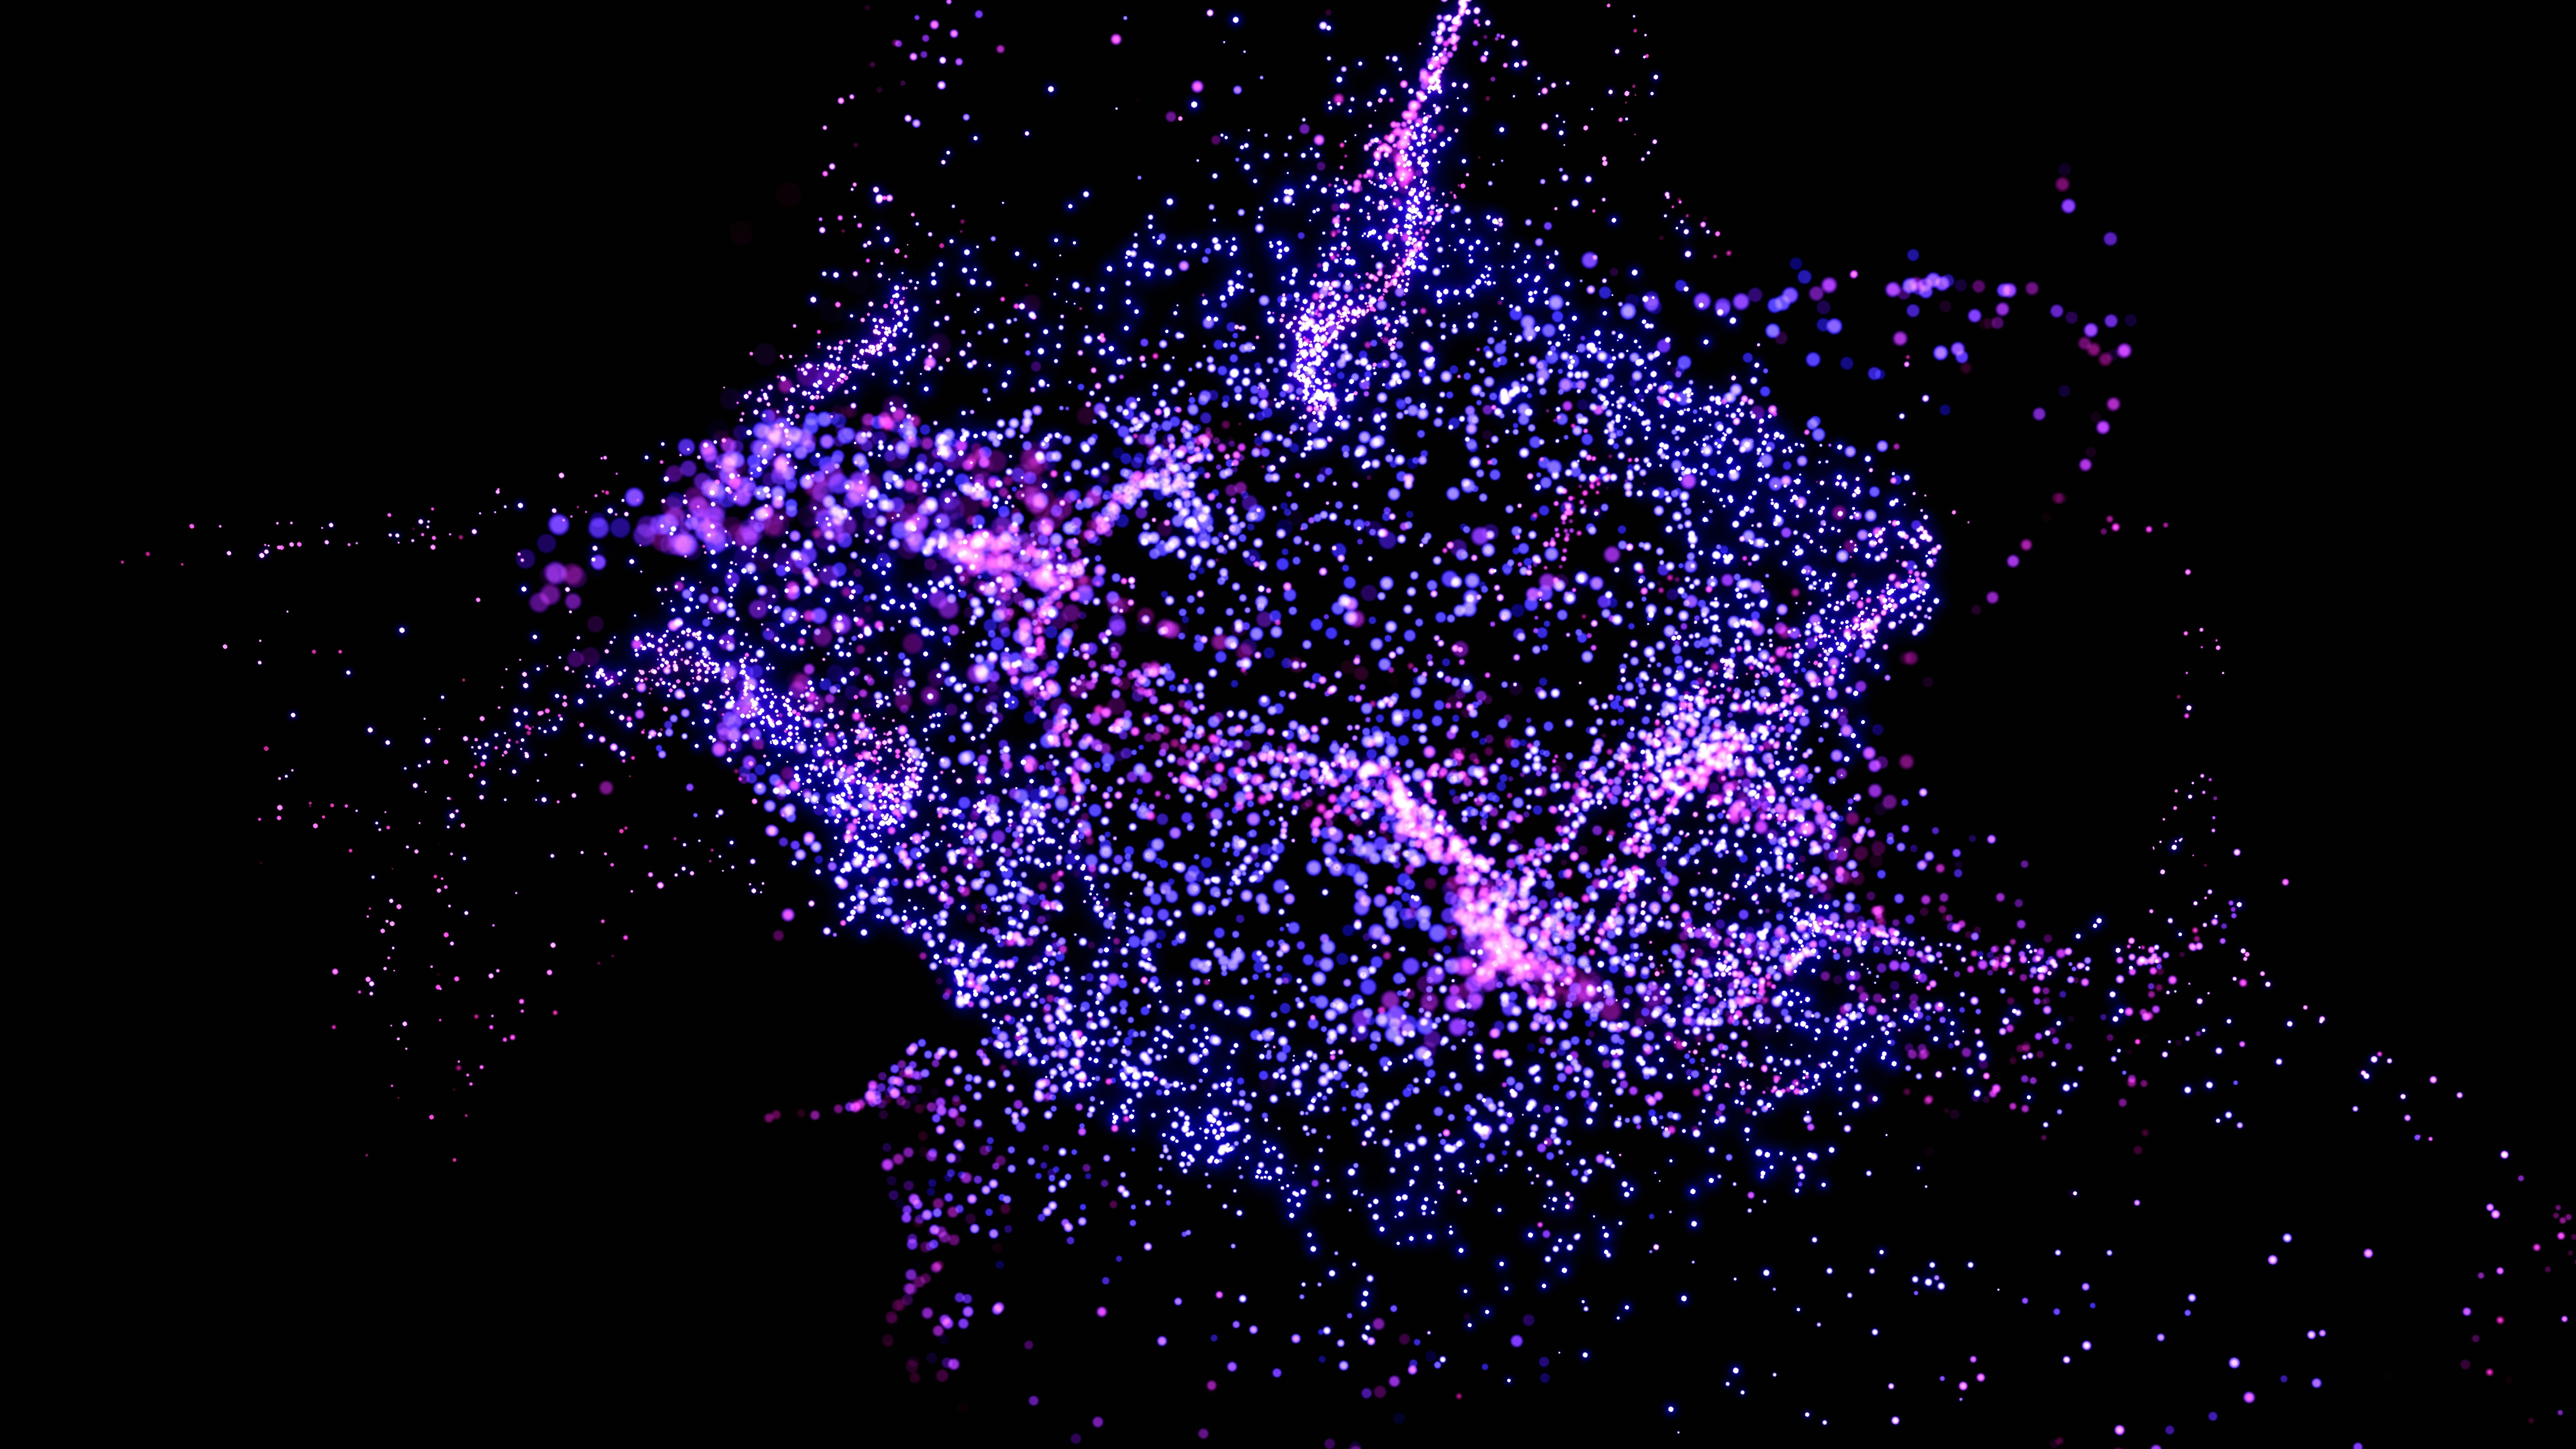
Our complete particle system now includes:
- Soft Bokeh particles: The majority with gentle, soft gradients
- Glowing particles: 25% with rotating, pulsing glow effects
- Sharp particles: 8% rare, bright, focused particles for contrast
- Smooth animation: Slow, gentle movement that doesn't distract
- Color variations: Cohesive color palette with bright accents
Visual hierarchy:
- Base layer: Soft Bokeh particles create ambient atmosphere
- Accent layer: Glowing particles add subtle interest
- Highlight layer: Sharp particles create focal points
This layered approach creates depth and visual interest while maintaining a calm, professional appearance.
Conclusion
You now have a complete, production-ready particle system with advanced visual effects! The key takeaways:
- Canvas is powerful for complex animations
- Proper lifecycle management prevents memory leaks
- Performance optimization ensures smooth experience
- Visual layering creates depth and interest
- Configuration centralization makes tweaking easy
- Accessibility shouldn't be forgotten
The particle system adds a beautiful, subtle animation with glowing accents and bright highlights that enhance your site without being distracting. The combination of soft Bokeh, rotating glows, and sharp highlights creates a sophisticated, modern aesthetic.
Happy coding!
Further Reading and References
Bokeh Effect
- Wikipedia: Bokeh - Comprehensive explanation of the photographic bokeh effect and its characteristics
- Photography Life: Understanding Bokeh - Detailed guide to bokeh in photography with visual examples
- CSS-Tricks: Creating Bokeh Effects with CSS - Alternative CSS-based approaches to creating bokeh effects
HTML5 Canvas
- MDN Web Docs: Canvas API - Official documentation and comprehensive guide to the Canvas API
- MDN Web Docs: Canvas Tutorial - Step-by-step tutorial covering canvas basics and advanced techniques
- HTML5 Canvas Deep Dive - Free online book covering canvas in depth
- Canvas Handbook - Comprehensive reference for canvas operations and best practices
Particle Systems and Animation
- MDN Web Docs: requestAnimationFrame - Official documentation for smooth animation timing
- JavaScript.info: Animation - Guide to creating smooth animations in JavaScript
- Particle Systems in WebGL - Advanced particle system techniques using WebGL
- The Nature of Code: Chapter 4 - Particle Systems - Mathematical foundations of particle systems (book chapter)
Performance Optimization
- Web.dev: Optimize Canvas - Best practices for canvas performance optimization
- Chrome DevTools: Performance - Guide to profiling and optimizing canvas animations
- RequestAnimationFrame Best Practices - Tips for smooth 60fps animations
Svelte and Canvas Integration
- Svelte Documentation: Lifecycle - Official Svelte lifecycle documentation
- SvelteKit Documentation: Browser Environment - Understanding browser vs server environment in SvelteKit