
Creating Bokeh Particles with Canvas in Svelte - Part 1: Canvas Basics
Introduction
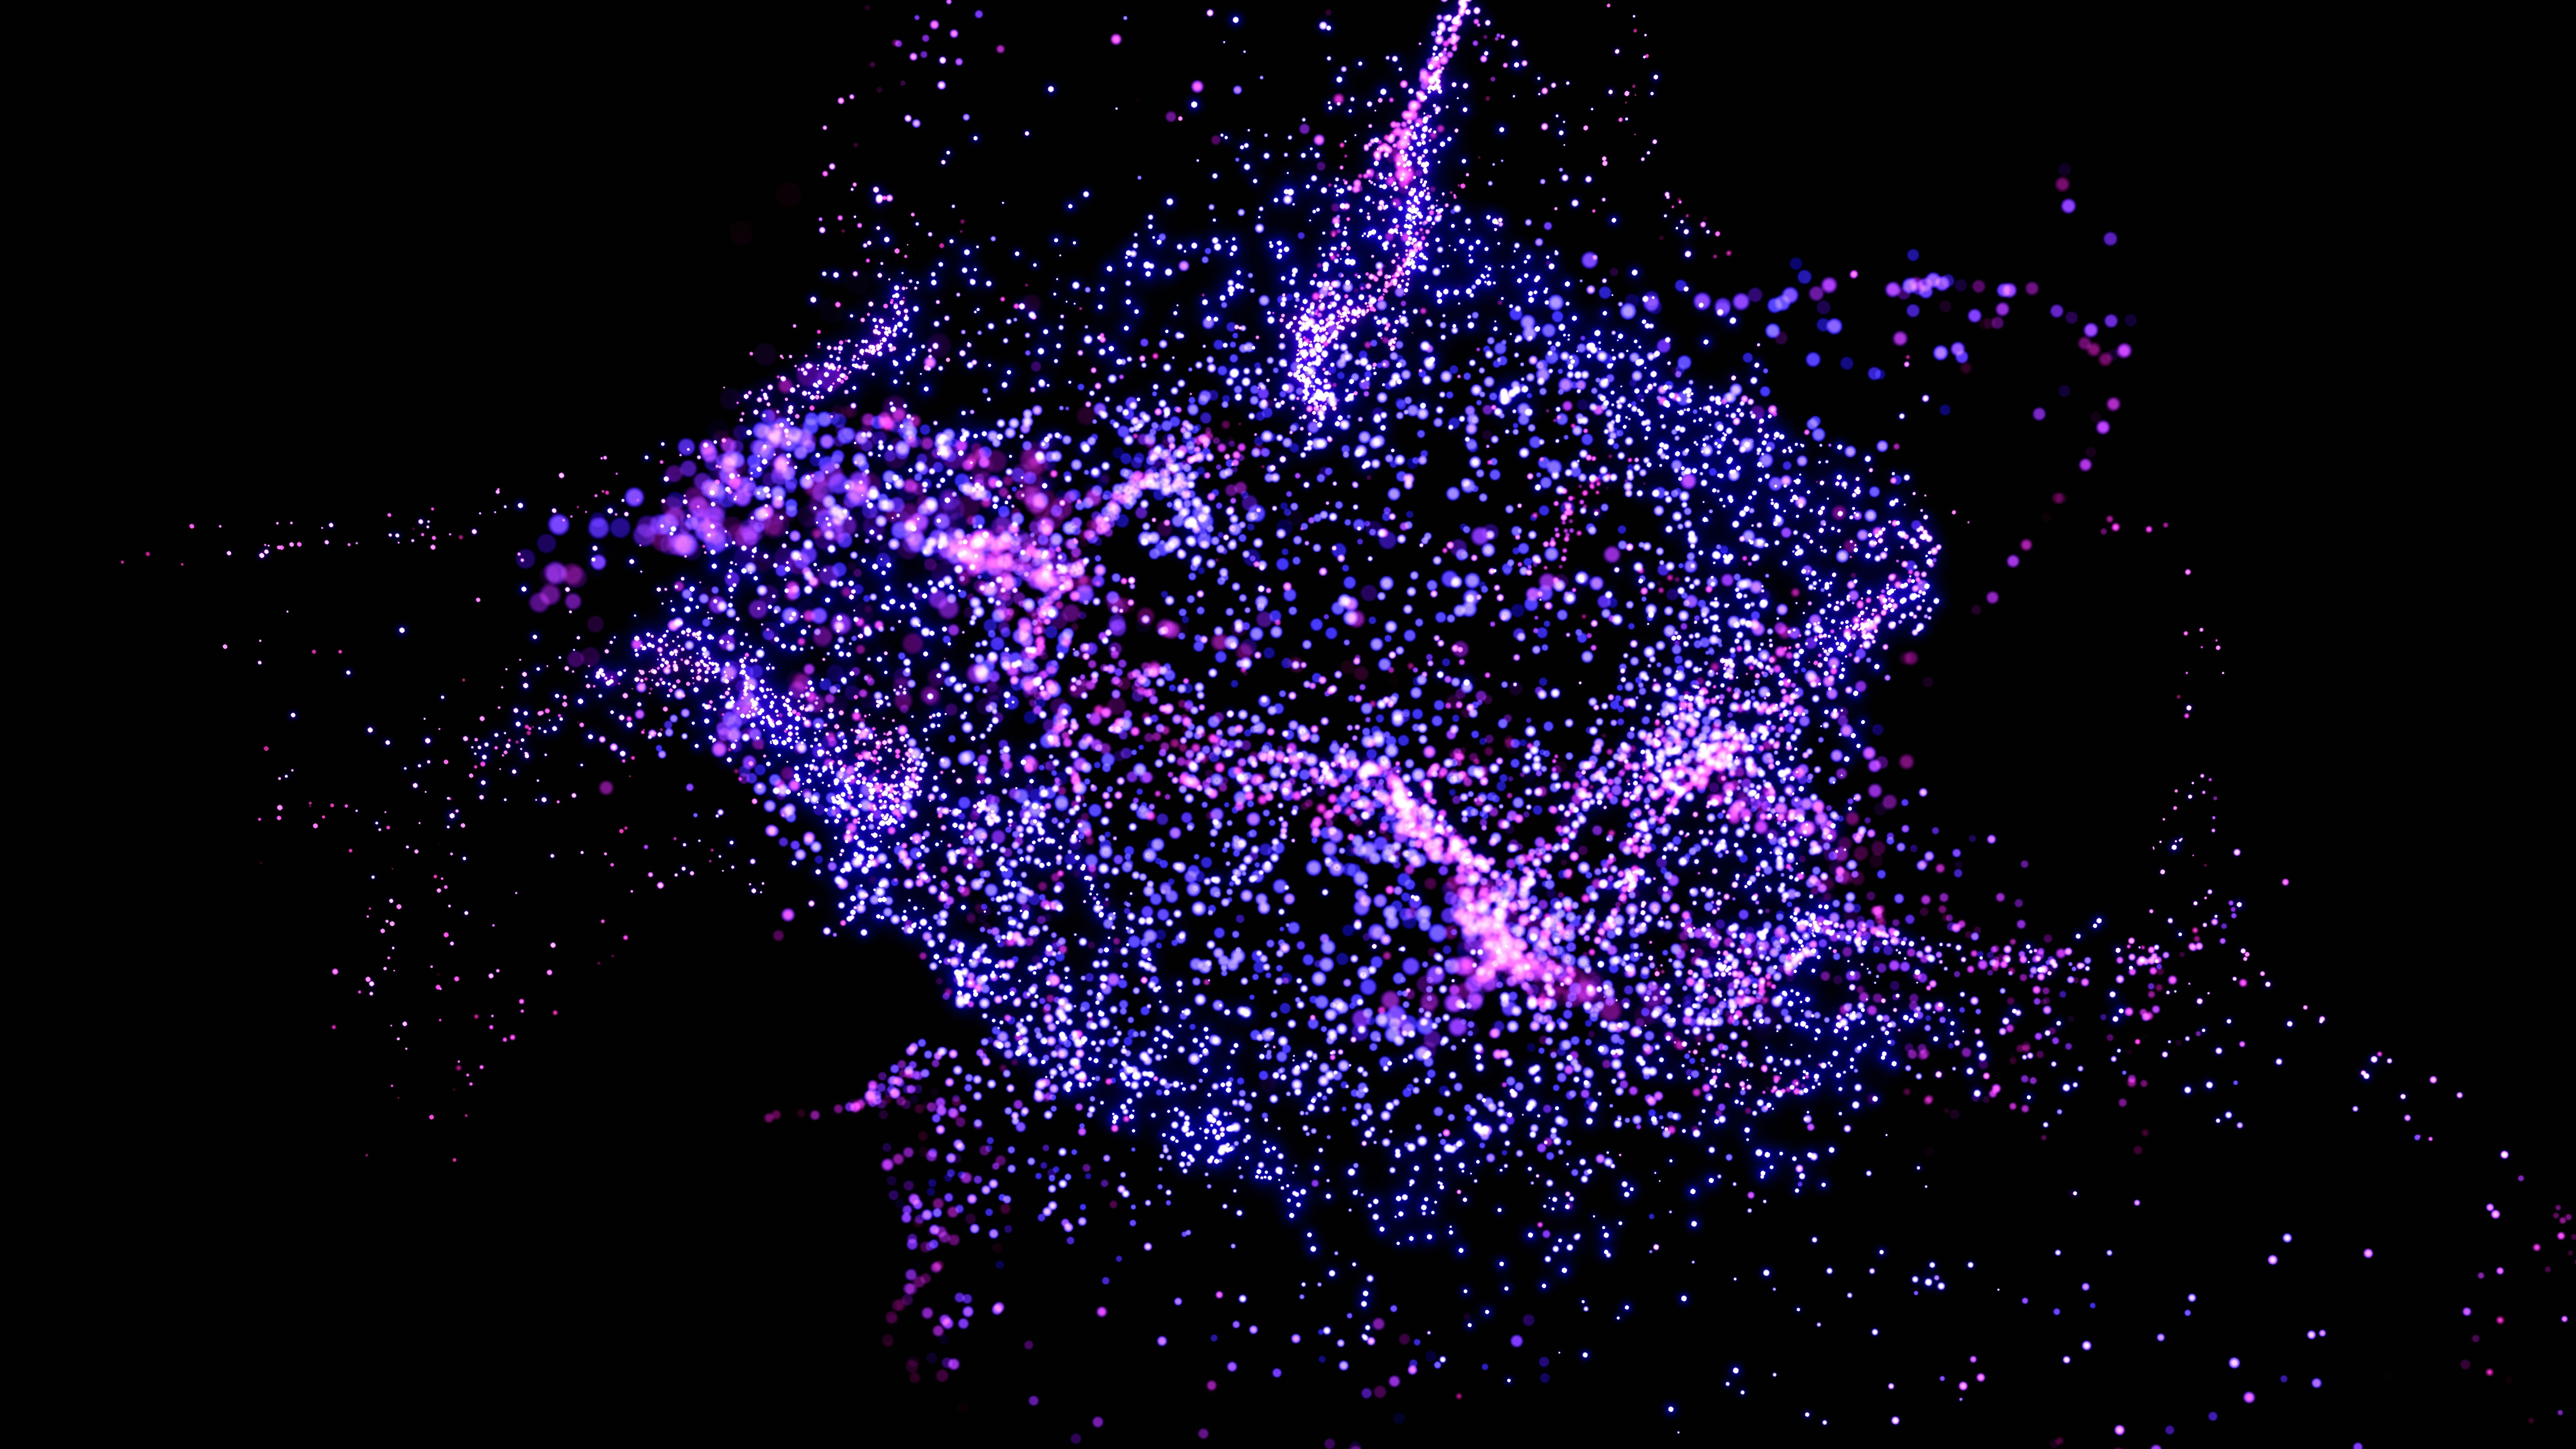
Recently, I wanted to add an animated particle background with a Bokeh effect to my website's hero section. Instead of using a library like particles.js, I decided to build it from scratch with vanilla JavaScript and HTML5 Canvas. This gave me full control over the visual appearance and performance.
In this series, I'll walk you through the implementation step by step, starting with the fundamentals of Canvas in this first part.
Table of Contents
- Why use Canvas instead of CSS animations or SVG?
- How do I set up a Canvas element in Svelte?
- How do I draw a simple circle on Canvas?
- How do I create a soft, glowing effect (Bokeh)?
- How do I animate particles smoothly?
- How do I handle canvas resizing?
Q: Why use Canvas instead of CSS animations or SVG?
A: Canvas is the perfect choice for this use case because:
Performance: Canvas can render hundreds of particles at 60fps without performance issues. CSS animations would struggle with this many elements.
Precise Control: We can control every pixel, create custom gradients, and implement complex animations programmatically.
Dynamic Rendering: Particles can interact, respond to user input, or adapt to viewport changes in real-time.
No DOM Overhead: Unlike creating hundreds of DOM elements, Canvas uses a single element and redraws everything each frame.
Q: How do I set up a Canvas element in Svelte?
A: Setting up Canvas in Svelte is straightforward. Here's the basic structure:
<script lang="ts">
	import { onMount, onDestroy } from 'svelte';
	import { browser } from '$app/environment';

	let canvas: HTMLCanvasElement;
	let ctx: CanvasRenderingContext2D | null = null;

	onMount(() => {
		if (!browser) return;

		// Get the 2D rendering context
		ctx = canvas.getContext('2d');
		if (!ctx) return;

		// Set canvas size
		const rect = canvas.getBoundingClientRect();
		canvas.width = rect.width * window.devicePixelRatio;
		canvas.height = rect.height * window.devicePixelRatio;

		// Scale context to handle high-DPI displays
		ctx.scale(window.devicePixelRatio, window.devicePixelRatio);
	});
</script>

<canvas bind:this={canvas}></canvas>
Key points:
bind:this={canvas}: This gives us a reference to the DOM elementbrowsercheck: Important for SSR - Canvas only works in the browser- Device Pixel Ratio: Multiplying by
window.devicePixelRatioensures crisp rendering on high-DPI displays (Retina screens) - Context scaling: We scale the context back down so our drawing coordinates match CSS pixels
Q: How do I draw a simple circle on Canvas?
A: Drawing a circle uses the arc() method:
function drawCircle(ctx: CanvasRenderingContext2D, x: number, y: number, radius: number) {
	ctx.beginPath();
	ctx.arc(x, y, radius, 0, Math.PI * 2);
	ctx.fill();
}
Breaking it down:
beginPath(): Starts a new patharc(x, y, radius, startAngle, endAngle): Creates a circular arcx, y: Center coordinatesradius: Circle radius0, Math.PI * 2: Full circle (0 to 2π radians)
fill(): Fills the path with the current fill style
Q: How do I create a soft, glowing effect (Bokeh)?
A: The Bokeh effect comes from using radial gradients. Instead of a solid color, we create a gradient that fades from the center:
function drawBokehParticle(
	ctx: CanvasRenderingContext2D,
	x: number,
	y: number,
	radius: number,
	color: string,
	opacity: number
) {
	// Create radial gradient
	const gradient = ctx.createRadialGradient(
		x, y, 0,        // Inner circle (center)
		x, y, radius    // Outer circle (edge)
	);

	// Add color stops for soft glow
	const alphaHex = Math.floor(opacity * 255)
		.toString(16)
		.padStart(2, '0');
	const alphaHalfHex = Math.floor(opacity * 0.5 * 255)
		.toString(16)
		.padStart(2, '0');

	gradient.addColorStop(0, `${color}${alphaHex}`);      // Center: full opacity
	gradient.addColorStop(0.5, `${color}${alphaHalfHex}`); // Middle: half opacity
	gradient.addColorStop(1, `${color}00`);               // Edge: transparent

	ctx.fillStyle = gradient;
	ctx.beginPath();
	ctx.arc(x, y, radius, 0, Math.PI * 2);
	ctx.fill();
}
What makes it "Bokeh"?
- Radial gradient: Creates a soft falloff from center to edge
- Multiple color stops: The middle stop (0.5) creates a more natural glow
- Transparent edge: The edge fades to fully transparent, creating the soft halo effect
Q: How do I animate particles smoothly?
A: Animation in Canvas uses requestAnimationFrame for smooth, frame-synced updates:
let animationFrameId: number;

function animate() {
	if (!ctx) return;

	// Clear the canvas
	ctx.clearRect(0, 0, canvas.width, canvas.height);

	// Update and draw particles
	particles.forEach(particle => {
		updateParticle(particle);
		drawParticle(particle);
	});

	// Schedule next frame
	animationFrameId = requestAnimationFrame(animate);
}

onMount(() => {
	animate();
});

onDestroy(() => {
	if (animationFrameId) {
		cancelAnimationFrame(animationFrameId);
	}
});
Why requestAnimationFrame?
- Browser-optimized: Runs at the display's refresh rate (usually 60fps)
- Pauses when tab is hidden: Saves battery and CPU
- Smooth animation: Better than
setIntervalwhich can stutter
Q: How do I handle canvas resizing?
A: Canvas needs special handling for resizing because it doesn't automatically resize like regular DOM elements:
function initCanvas() {
	if (!canvas || !ctx) return;

	const rect = canvas.getBoundingClientRect();
	canvas.width = rect.width * window.devicePixelRatio;
	canvas.height = rect.height * window.devicePixelRatio;
	ctx.scale(window.devicePixelRatio, window.devicePixelRatio);
}

onMount(() => {
	initCanvas();

	// Use ResizeObserver for efficient resize detection
	const resizeObserver = new ResizeObserver(() => {
		initCanvas();
	});
	resizeObserver.observe(canvas);

	// Also listen to window resize for device pixel ratio changes
	window.addEventListener('resize', initCanvas);

	return () => {
		window.removeEventListener('resize', initCanvas);
		resizeObserver.disconnect();
	};
});
Important notes:
- Re-initialize on resize: Canvas size must be set explicitly
- ResizeObserver: More efficient than listening to window resize events
- Cleanup: Always remove event listeners and disconnect observers
Next Steps
In Part 2, we'll dive into creating the particle system - managing multiple particles, implementing smooth movement, and adding visual variations. We'll also cover performance optimizations and making the animation responsive.
Stay tuned for Part 2 where we'll build the complete particle system!