Creating Bokeh Particles with Canvas in Svelte - Part 2: Building the Particle System
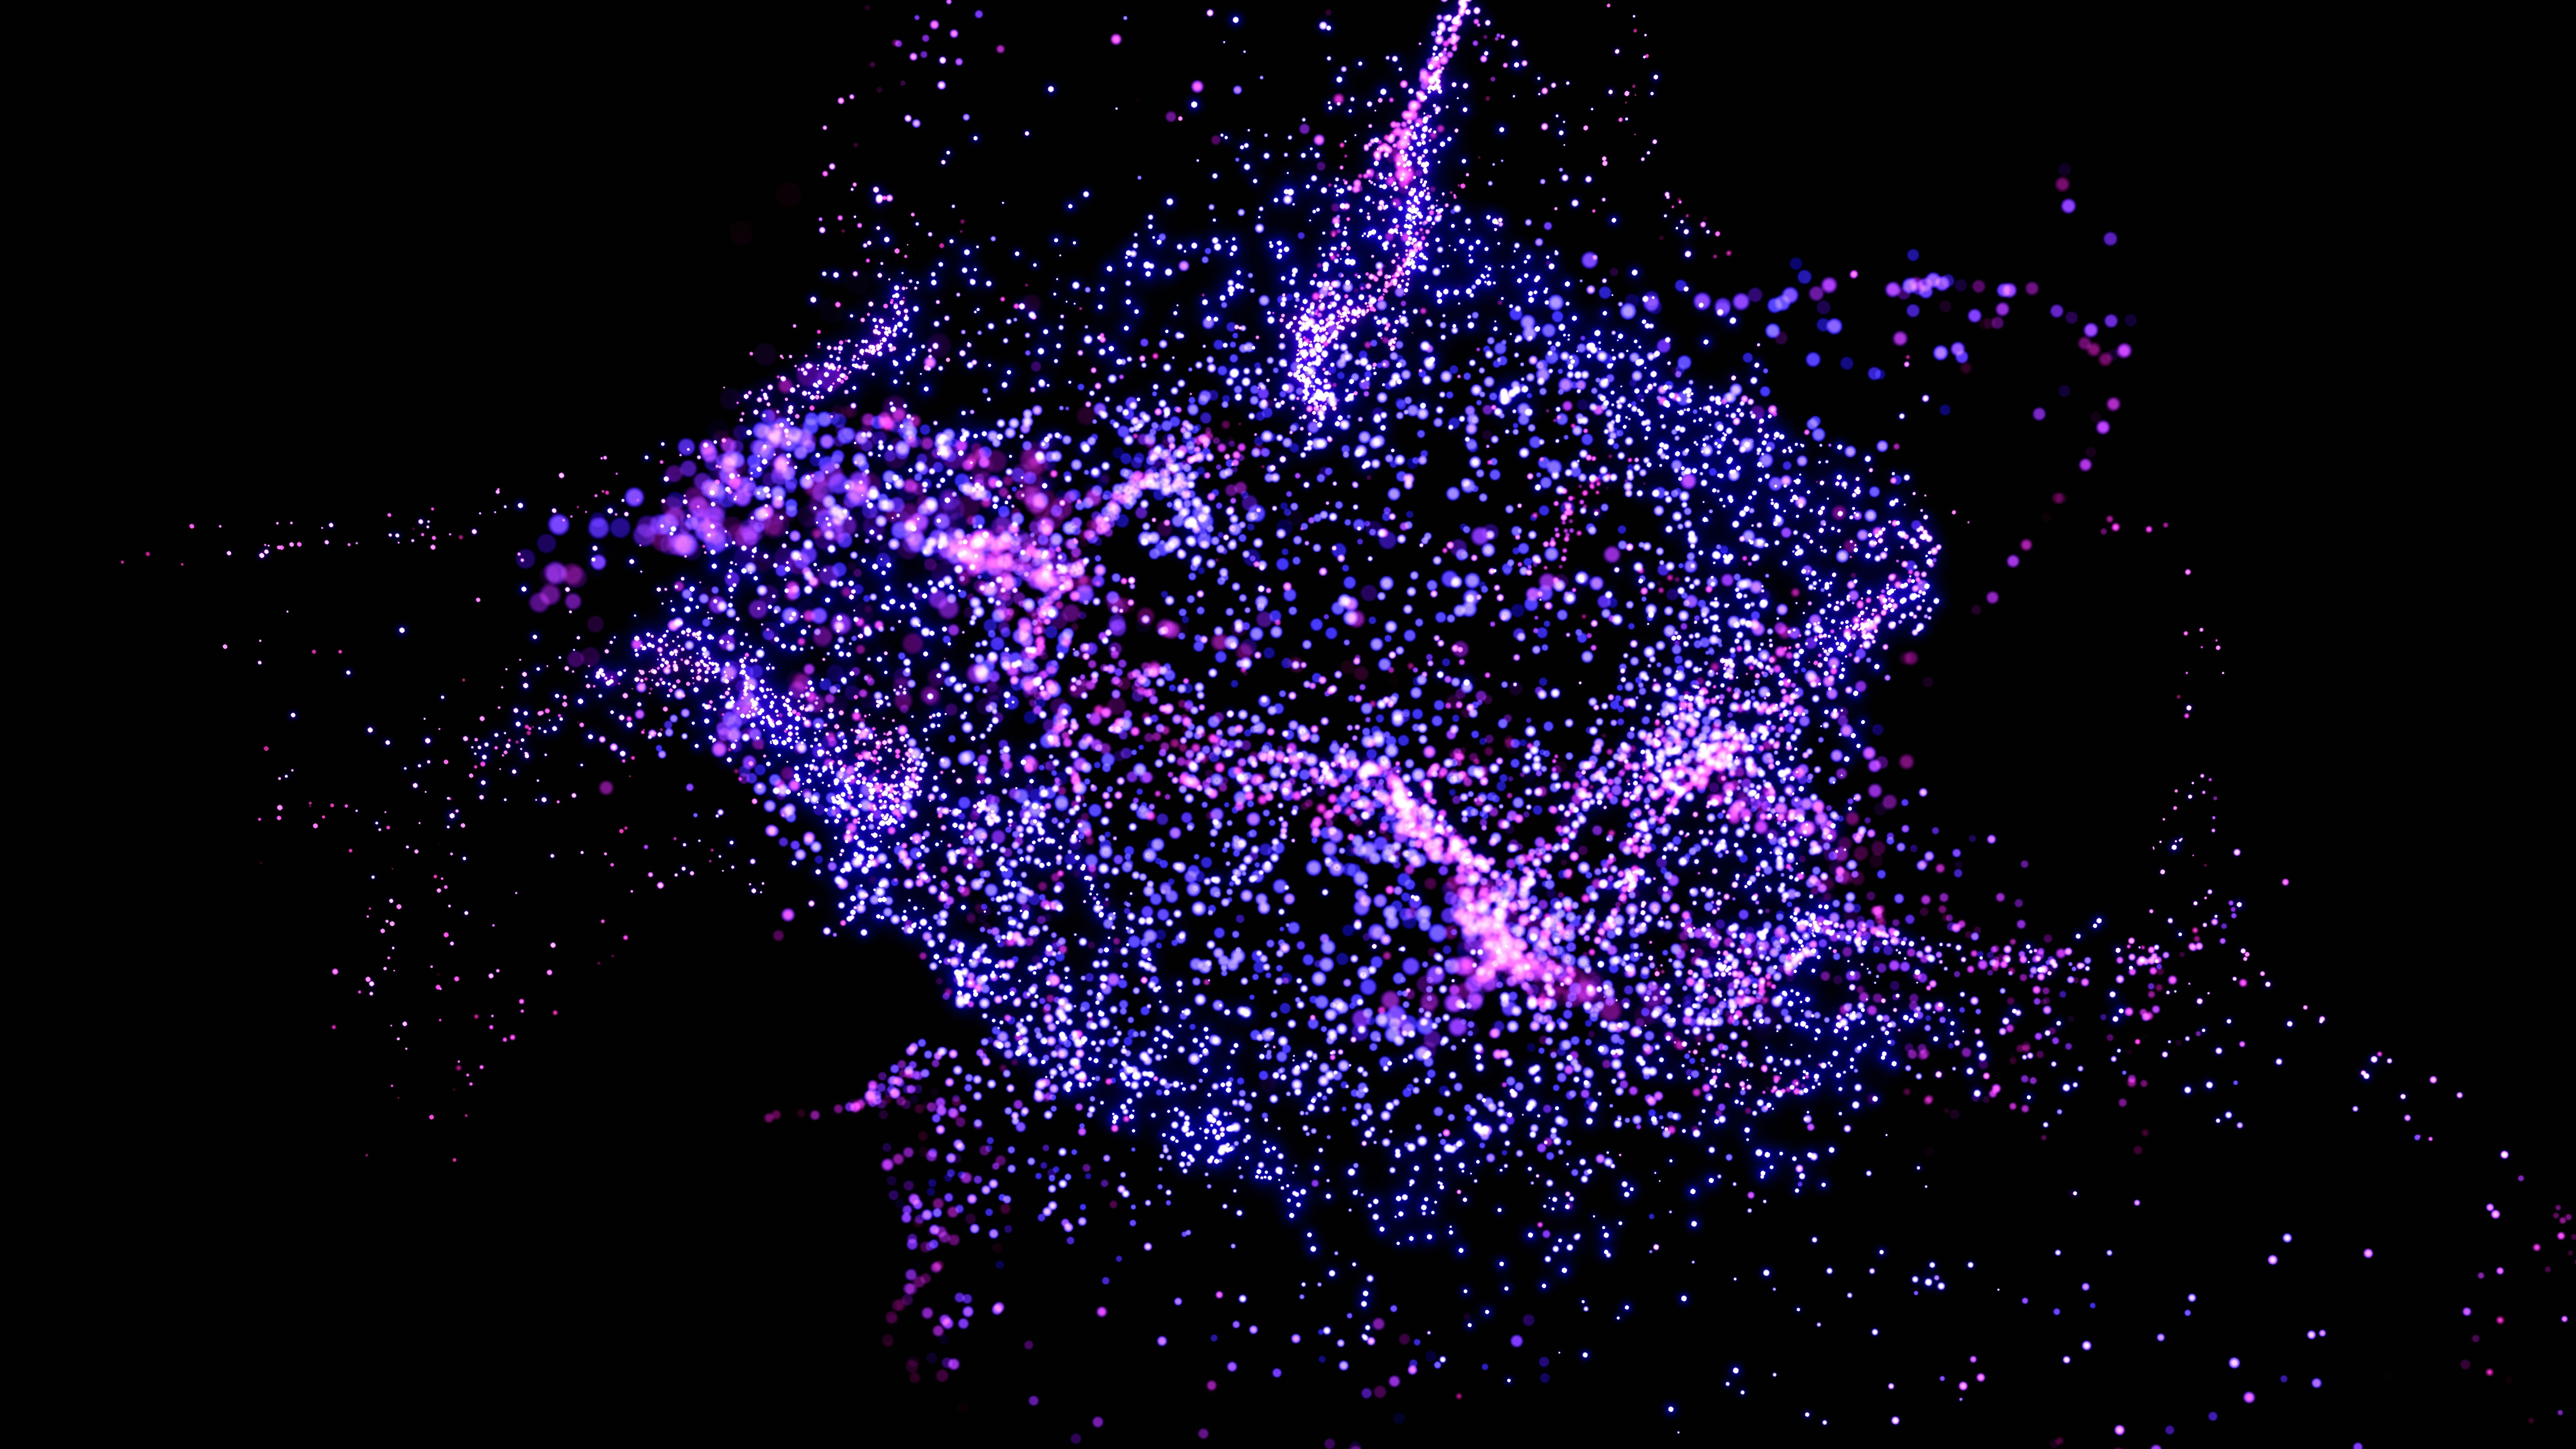
Introduction
In Part 1, we covered the fundamentals of Canvas and how to draw Bokeh particles. Now, let's build a complete particle system with smooth animations and dynamic behavior.
Table of Contents
- How do I structure particle data?
- How do I create and initialize particles?
- How do I update particle positions smoothly?
- How do I create smooth opacity transitions?
- How do I add subtle size variations?
- How do I handle responsive particle counts?
- How do I integrate everything in the animation loop?
- How do I add a glow effect to some particles?
- How do I create sharp, bright particles for contrast?
- How do I control particle speed?
Q: How do I structure particle data?
A: Each particle needs properties for position, movement, appearance, and animation state:
interface Particle {
	x: number;              // Current X position
	y: number;              // Current Y position
	vx: number;             // Velocity X (movement speed)
	vy: number;             // Velocity Y
	radius: number;         // Current radius (can vary)
	opacity: number;        // Current opacity
	targetOpacity: number;  // Target opacity for smooth transitions
	color: string;          // Particle color
	baseRadius: number;     // Base radius (for size variations)
}
This structure allows us to:
- Track position and movement independently
- Animate opacity smoothly toward a target
- Vary size dynamically while keeping a base value
Q: How do I create and initialize particles?
A: Create particles with random initial values:
const particleCount = 50;
const minRadius = 2;
const maxRadius = 8;
const speed = 0.3;
const opacityRange = { min: 0.2, max: 0.6 };

function createParticle(width: number, height: number): Particle {
	const radius = minRadius + Math.random() * (maxRadius - minRadius);
	const color = colorVariations[Math.floor(Math.random() * colorVariations.length)];
	const opacity = opacityRange.min + Math.random() * (opacityRange.max - opacityRange.min);

	return {
		x: Math.random() * width,
		y: Math.random() * height,
		vx: (Math.random() - 0.5) * speed,
		vy: (Math.random() - 0.5) * speed,
		radius,
		opacity,
		targetOpacity: opacity,
		color,
		baseRadius: radius
	};
}

function initParticles(width: number, height: number) {
	particles = [];
	for (let i = 0; i < particleCount; i++) {
		particles.push(createParticle(width, height));
	}
}
Design decisions:
- Random positions:
Math.random() * width/heightdistributes particles across the canvas - Random velocities:
(Math.random() - 0.5) * speedcreates movement in all directions - Varied sizes: Different radii create visual interest
- Color variations: Using an array of similar colors maintains visual cohesion
Q: How do I update particle positions smoothly?
A: Update position each frame and handle edge wrapping:
function updateParticle(particle: Particle, width: number, height: number) {
	// Update position
	particle.x += particle.vx;
	particle.y += particle.vy;

	// Wrap around edges (seamless loop)
	if (particle.x < 0) particle.x = width;
	if (particle.x > width) particle.x = 0;
	if (particle.y < 0) particle.y = height;
	if (particle.y > height) particle.y = 0;
}
Why wrap instead of bounce?
- Seamless animation: No jarring direction changes
- Infinite space illusion: Particles appear to move continuously
- Simpler code: No need to reverse velocity
Q: How do I create smooth opacity transitions?
A: Use linear interpolation (lerp) to smoothly transition toward a target:
function updateParticle(particle: Particle, width: number, height: number) {
	// ... position updates ...

	// Smooth opacity animation (lerp)
	const opacityDiff = particle.targetOpacity - particle.opacity;
	particle.opacity += opacityDiff * 0.02;

	// Occasionally change target opacity for breathing effect
	if (Math.random() < 0.005) {
		particle.targetOpacity = opacityRange.min +
			Math.random() * (opacityRange.max - opacityRange.min);
	}
}
How it works:
- Lerp factor (0.02): Moves 2% toward target each frame
- Small factor = smooth: Larger values (0.1+) create faster, less smooth transitions
- Random target changes: Creates a "breathing" effect where particles gently fade in and out
- Low probability (0.005): Only changes target ~0.5% of frames, keeping it subtle
Q: How do I add subtle size variations?
A: Use sine waves for smooth, organic size changes:
function updateParticle(particle: Particle, width: number, height: number) {
	// ... other updates ...

	// Subtle size variation using sine wave
	particle.radius = particle.baseRadius +
		Math.sin(Date.now() * 0.001 + particle.x) * 0.5;
}
Why sine waves?
- Smooth oscillation: Creates natural pulsing effect
- Unique per particle: Adding
particle.xto the phase makes each particle pulse at different times - Slow animation:
Date.now() * 0.001creates slow, subtle changes - Small variation:
* 0.5keeps the size change subtle
Q: How do I handle responsive particle counts?
A: Adjust particle count based on viewport size for performance:
function getParticleCount(): number {
	if (!browser) return 50;

	const width = window.innerWidth;
	if (width < 768) return 30;      // Mobile: fewer particles
	if (width < 1024) return 40;     // Tablet: medium
	return 50;                        // Desktop: full count
}

function initParticles(width: number, height: number) {
	const count = getParticleCount();
	particles = [];
	for (let i = 0; i < count; i++) {
		particles.push(createParticle(width, height));
	}
}
Performance benefits:
- Mobile optimization: Fewer particles = better battery life
- Smooth 60fps: Maintains performance on all devices
- Scalable: Easy to adjust thresholds based on testing
Q: How do I integrate everything in the animation loop?
A: The complete animation loop looks like this:
function animate() {
	if (!ctx || !canvas) return;

	const rect = canvas.getBoundingClientRect();
	ctx.clearRect(0, 0, rect.width, rect.height);

	// Update and draw all particles
	particles.forEach(particle => {
		updateParticle(particle, rect.width, rect.height);
		drawBokehParticle(ctx, particle);
	});

	animationFrameId = requestAnimationFrame(animate);
}
Order matters:
- Clear first: Remove previous frame
- Update then draw: Always update state before rendering
- Use requestAnimationFrame: For smooth, synced animation
Complete Integration Example
Here's how it all comes together in a Svelte component:
<script lang="ts">
	import { onMount, onDestroy } from 'svelte';
	import { browser } from '$app/environment';

	let canvas: HTMLCanvasElement;
	let ctx: CanvasRenderingContext2D | null = null;
	let animationFrameId: number;
	let particles: Particle[] = [];

	onMount(() => {
		if (!browser) return;

		initCanvas();
		initParticles(canvas.width, canvas.height);
		animate();
	});

	onDestroy(() => {
		if (animationFrameId) {
			cancelAnimationFrame(animationFrameId);
		}
	});
</script>

<canvas bind:this={canvas} class="particles-canvas"></canvas>
Q: How do I add a glow effect to some particles?
A: Adding a rotating glow effect creates visual interest and makes certain particles stand out:
interface Particle {
	// ... other properties ...
	hasGlow: boolean;
	glowAngle: number;
	glowIntensity: number;
}

const glowProbability = 0.25; // 25% of particles will have glow

function createParticle(): Particle {
	const hasGlow = Math.random() < glowProbability;
	return {
		// ... other properties ...
		hasGlow,
		glowAngle: Math.random() * Math.PI * 2,
		glowIntensity: 0.7 + Math.random() * 0.3
	};
}

function drawGlow(particle: Particle) {
	if (!ctx) return;

	// Calculate glow position (offset from center, rotating)
	const glowDistance = particle.radius * 0.25;
	const glowX = particle.x + Math.cos(particle.glowAngle) * glowDistance;
	const glowY = particle.y + Math.sin(particle.glowAngle) * glowDistance;
	const glowRadius = particle.radius * 0.6 * particle.glowIntensity;

	// Create bright white gradient for glow
	const glowGradient = ctx.createRadialGradient(
		glowX, glowY, 0,
		glowX, glowY, glowRadius
	);

	const baseGlowOpacity = Math.min(1.0, particle.opacity * 1.5) * particle.glowIntensity;
	const glowAlpha = Math.floor(baseGlowOpacity * 255).toString(16).padStart(2, '0');

	glowGradient.addColorStop(0, `#FFFFFF${glowAlpha}`);
	glowGradient.addColorStop(0.3, `#FFFFFF${Math.floor(baseGlowOpacity * 0.6 * 255).toString(16).padStart(2, '0')}`);
	glowGradient.addColorStop(1, '#FFFFFF00');

	ctx.fillStyle = glowGradient;
	ctx.beginPath();
	ctx.arc(glowX, glowY, glowRadius, 0, Math.PI * 2);
	ctx.fill();

	// Add smaller highlight point for extra sparkle
	const highlightRadius = particle.radius * 0.15;
	// ... draw highlight ...
}

function updateParticle(particle: Particle) {
	// ... other updates ...

	if (particle.hasGlow) {
		// Slow rotation of glow position
		particle.glowAngle += 0.01;
		if (particle.glowAngle > Math.PI * 2) {
			particle.glowAngle -= Math.PI * 2;
		}

		// Subtle intensity pulsing
		particle.glowIntensity = 0.7 + Math.sin(Date.now() * 0.002 + particle.x * 0.1) * 0.25;
	}
}
Key features:
- Rotating glow: The glow position rotates slowly around the particle
- Pulsing intensity: Creates a "breathing" effect
- Layered rendering: Main glow + smaller highlight point for depth
- High opacity: Stronger than base particles for visibility
Q: How do I create sharp, bright particles for contrast?
A: Adding rare, sharp particles creates visual variety and highlights:
interface Particle {
	// ... other properties ...
	isSharp: boolean;
}

const sharpProbability = 0.08; // 8% of particles
const sharpColors = ['#FFFFFF', '#F5E6FF', '#E8D5FF', '#FFE5FF'];

function createParticle(): Particle {
	const isSharp = Math.random() < sharpProbability;
	const color = isSharp
		? sharpColors[Math.floor(Math.random() * sharpColors.length)]
		: colorVariations[Math.floor(Math.random() * colorVariations.length)];

	const opacity = isSharp
		? 0.8 + Math.random() * 0.2 // Much brighter
		: opacityRange.min + Math.random() * (opacityRange.max - opacityRange.min);

	return {
		// ... other properties ...
		isSharp,
		color,
		opacity
	};
}

function drawSharpParticle(particle: Particle) {
	if (!ctx) return;

	// Sharper gradient - less soft, more focused
	const gradient = ctx.createRadialGradient(
		particle.x, particle.y, 0,
		particle.x, particle.y, particle.radius
	);

	const alpha = Math.floor(particle.opacity * 255).toString(16).padStart(2, '0');

	// Sharper falloff - brighter center, quicker fade
	gradient.addColorStop(0, `${particle.color}${alpha}`);
	gradient.addColorStop(0.3, `${particle.color}${Math.floor(particle.opacity * 0.8 * 255).toString(16).padStart(2, '0')}`);
	gradient.addColorStop(0.7, `${particle.color}${Math.floor(particle.opacity * 0.4 * 255).toString(16).padStart(2, '0')}`);
	gradient.addColorStop(1, `${particle.color}00`);

	ctx.fillStyle = gradient;
	ctx.beginPath();
	ctx.arc(particle.x, particle.y, particle.radius, 0, Math.PI * 2);
	ctx.fill();

	// Add bright center highlight for extra sharpness
	const centerRadius = particle.radius * 0.4;
	const centerGradient = ctx.createRadialGradient(
		particle.x, particle.y, 0,
		particle.x, particle.y, centerRadius
	);

	centerGradient.addColorStop(0, `#FFFFFF${Math.floor(Math.min(1.0, particle.opacity * 1.1) * 255).toString(16).padStart(2, '0')}`);
	centerGradient.addColorStop(1, `${particle.color}00`);

	ctx.fillStyle = centerGradient;
	ctx.beginPath();
	ctx.arc(particle.x, particle.y, centerRadius, 0, Math.PI * 2);
	ctx.fill();
}
Design decisions:
- Low probability: Only 8% are sharp, making them special
- Very bright colors: White and very light pastels
- High opacity: 0.8-1.0 vs 0.2-0.6 for normal particles
- Sharper gradient: Quicker falloff creates focused appearance
- Center highlight: White core adds extra brightness
Q: How do I control particle speed?
A: Adjust the speed constant to control movement velocity:
const speed = 0.1; // Lower = slower movement

function createParticle(): Particle {
	return {
		// ...
		vx: (Math.random() - 0.5) * speed,
		vy: (Math.random() - 0.5) * speed,
		// ...
	};
}
Speed guidelines:
- 0.05-0.1: Very slow, meditative movement
- 0.1-0.3: Gentle, calm movement (recommended)
- 0.3-0.5: Moderate, noticeable movement
- 0.5+: Fast, energetic movement
Lower speeds create a more subtle, ambient effect that doesn't distract from content.
Next Steps
In Part 3, we'll cover advanced topics like:
- Performance optimizations
- Svelte integration patterns
- Configuration and customization
- Production-ready considerations
- Accessibility considerations
Stay tuned for the final part!